This host-agnostic checklist provides the exact CLI steps on how to set up a Linux VPS. You’ll see how to create a new unmanaged Linux VPS (AlmaLinux 10 example). If you haven’t picked a provider yet, start with 8 criteria to choose the right unmanaged VPS host so you provision on solid infrastructure.
It will be configured and ready for easily installing a web server and a web control panel such as DirectAdmin. It follows a strict order of operations and excludes user creation and firewall steps that will be handled later by DirectAdmin (CSF). Local-machine instructions focus on Windows PCs (PuTTY, WinSCP, PowerShell/OpenSSH).
Table of Contents
What is a VPS?
A VPS is a Virtual Private Server, also sometimes referred as a VPS Server. They always first require a physical server to exist. Then, special software is installed to enable a physical server to create multiple software-based servers to co-exist and run on the physical server. Networks then recognize the physical servers and virtual servers all as servers. The reason for creating virtual servers is because it’s very cost-effective and can be used for hosting them out for lots of things like web servers for websites. Learn more on Google Cloud’s article “What is a Virtual Private Server (VPS)?“
What is an Unmanaged VPS?
An unmanaged VPS is a virtual private server that typically does not come with a control panel. Also, you usually don’t get detailed support for how you use your hosted VPS. Finally, you may not get very many features included like fast bandwidth, mail server, antivirus, SSL, and so on. But, hosts, like control panels, differ a whole lot on their offerings. So, read more about “Unmanaged vs Managed VPS” to learn more of those details. Finally, here’s an example of a real, good host, SpeedyPage.com high performance unmanaged VPS plans, the one that this site is running on.
0 — Before you begin
If you haven’t chosen a host yet, use Unmanaged VPS Hosting: 8 Criteria to Pick the Right Provider to shortlist providers before you run any of these commands.
1 — Provisioning & Base Setup — VPS Host Provider Configuration

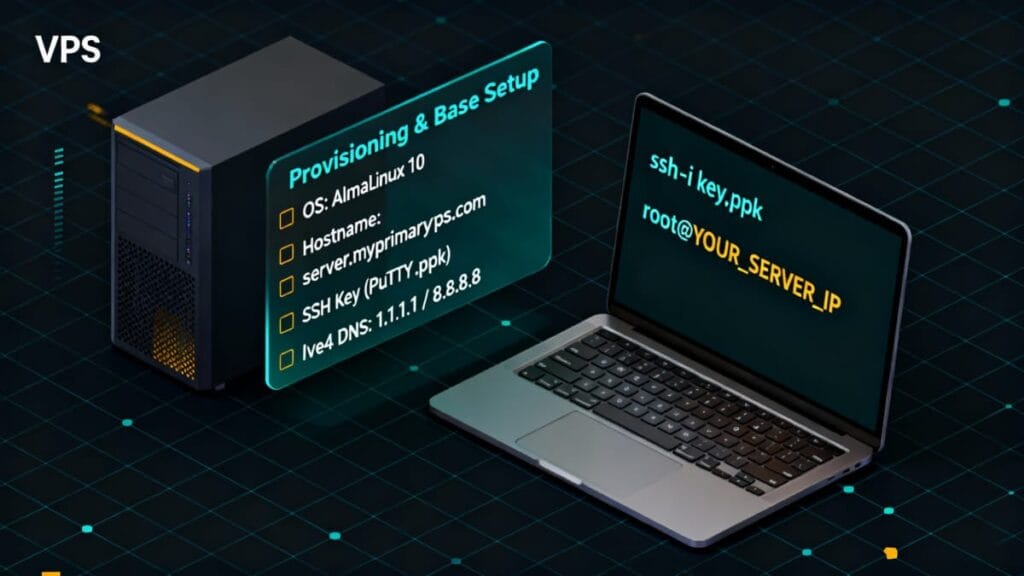
Select and confirm the following in your host dashboard to install Linux as your VPS O/S. Note that these are examples and you should use your own values:
- Select OS: AlmaLinux 10 (latest)
- NAME: server (This “server name” represents a device/machine name the way it will appear on your hosting account.)
- Domain: myprimaryvps.com (always replace this example name with your actual primary domain name to use for this VPS server)
- Hostname: server.myprimaryvps.com (This host name is your FQDN, i.e., it should be your server’s name, a period punctuation, and your intended main domain name.)
- Login Method: SSH Key
- First-time: Add Key → Generate Key Pair (RSA2, 2048 bit, Private Key Format: PuTTY); save keys locally.
- Read more about what to do with that SSH key for future easy connecting (logging in) to your VPS.
- IPv4 resolvers: leave defaults (1.1.1.1 / 8.8.8.8)
- Many hosts have an “Auto Configuration” setting you can enable (or disable to manually adjust some settings).
- Some hosts will also have an IPv6 option. Leave it disabled because sometimes it’s not a static IP and it can change. Whereas, the IPv4 commonly is a static IP, required for VPS servers.
Create Your SSH Key
Creating your SSH key is a small topic all its own. It will involve your host and you creating a “key” that will pair together so you can login with better security than passwords. Read more on SSH Keys so you can understands its purpose. Then, utilize your SSH key and Windows PC apps “PuTTY“, “PuTTY Gen“, and “WinSCP” to easily connect directly to your VPS after it’s created.
2 — Create New VPS (host UI)
Create the instance in the host dashboard using your decided settings, as example above shows but using your own values. Wait until the instance shows ready, then proceed to next step.
3 — Initial In-Server Commands: Verify SSH login (Windows PC)
Test SSH access using your private key from your Windows PC and the app “PuTTY”.

Code Block 1. Test SSH access to server
ssh -i "C:\path\to\servermyprimaryvpsPrivateKey.ppk" root@YOUR_SERVER_IP
PuTTY users: load the .ppk in PuTTY and connect to root@YOUR_SERVER_IP. Use WinSCP with the same .ppk for file transfers.
2 — Set VPS Server Hostname
Set the server’s FQDN on the instance.
Code Block 2. Assign the server’s name (FQDN)
- Replace server.primaryvps.com with your chosen FQDN.
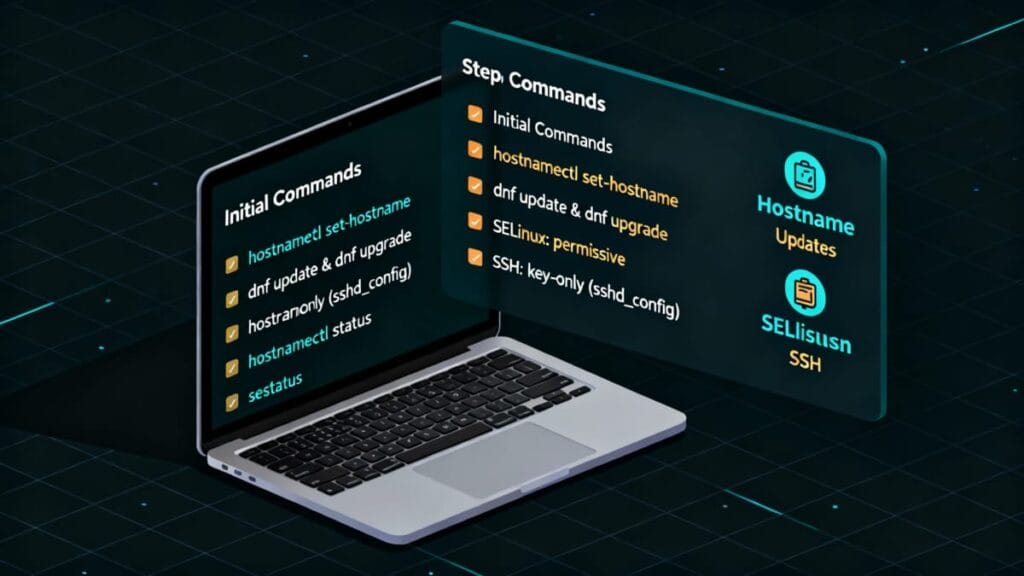
hostnamectl set-hostname server.myprimaryvps.com
hostnamectl status
3 — Update & Install Dependencies with EPEL
Now, install “epel” (Extra Packages for Enterprise Linux). These items also include some dependencies. It’s a part of strong recommendations and some pre-requisites for DirectAdmin.
Code Block 3. Install updates
dnf update -y
Code Block 4. Install epel & required dependencies
dnf install -y wget epel-release
4 — Update System Packages — AlmaLinux
In learning how to set up a Linux VPS, that includes ensuring the the system fully up to date.
Code Block 5. Check and apply any available server updates
sudo dnf check-update && sudo dnf update
Important: Keep your SSH session open until updates finish.
5 — SELinux Disabled (DirectAdmin requirement)
Many popular web control panels require or recommend this action. Disable SELinux status when your control panel requires or recommends it.
Code Block 6. Disable permissions to “SELINUX” & reboot
rpm -q grubby && sudo grubby --update-kernel ALL --args selinux=0
reboot
Only apply permissive if required at this stage. DirectAdmin install guidance will define exact latest Linux needs.
6— Resolver settings
Leave system DNS resolvers at provider defaults unless a change is required.
You’re ready for DirectAdmin
Once your Linux VPS is updated and configured up to this point, you’re ready to install DirectAdmin on AlmaLinux 10 and turn this server into a control panel-based hosting environment.
Conclusion of How to Set Up a Linux VPS
You’ve now learned how to set up a Linux VPS server and it’s complete. You’ve see the SSH requirements to connect to your VPS and you’ve seen the easy copy-and-pasted scripts to use for initial configuring and added installs and updates. You’re now ready to proceed with DirectAdmin web control panel installation and CSF-managed firewall in the next stage.
To see where this base setup fits in the overall stack, you can refer back to the DirectAdmin VPS home page, which outlines the full sequence from provider choice to email deliverability.

