This complete setup guide documents a complete, real‑world system for building and operating a hosted unmanaged VPS using DirectAdmin. Creating a self-managed VPS will focus on predefined sequences of stages to illustrate how to have a long‑term reliable configuration before any applications, such as WordPress, are installed.
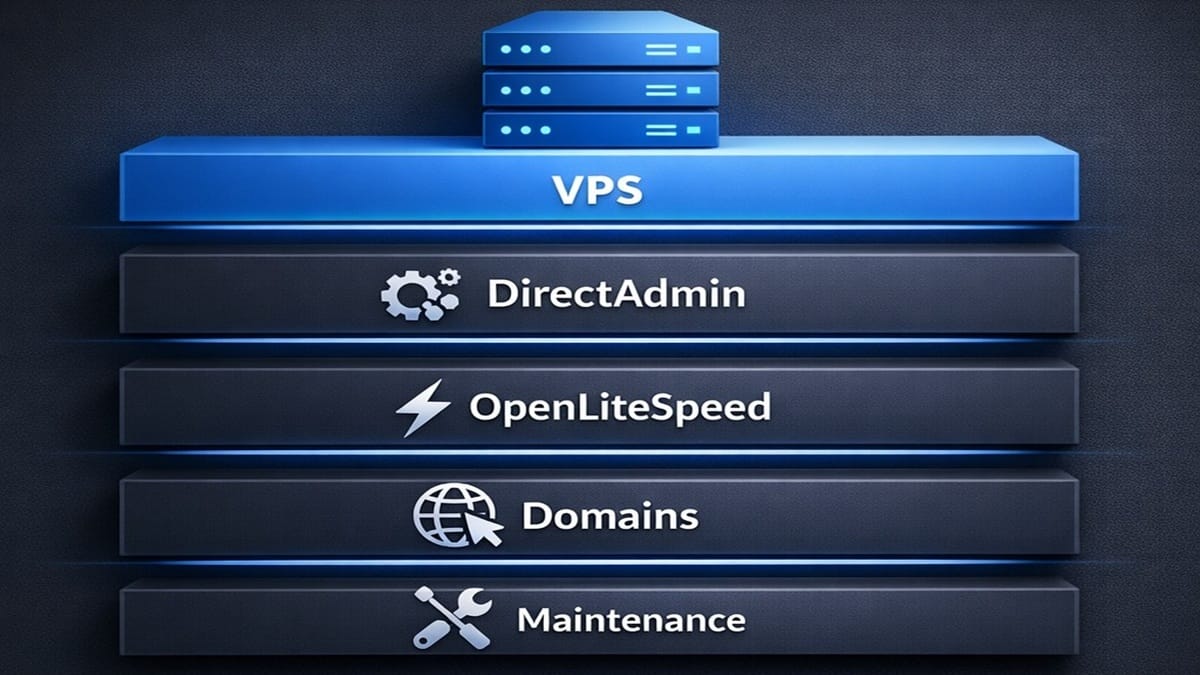
Overview: DirectAdmin VPS Setup Guide
- This complete, single guide, shows step-by-step, a complete set of orderly tasks to setup a hosted unmanaged VPS, ready with 1 or more domains, DNS, SSL, startup security, mail, OLS, and more.
- Everything here is based on hands‑on operation and documentation‑driven checklists. You can follow the system from start to finish or jump to the phase that matches where you are now.
- These numbered stages include an emphasis on also setting up and using DirectAdmin, a web control panel, to administer that same VPS.
- Each numbered stage below, sometimes has several steps of checklists to complete that stage. Also, some checklists will have sub-checklists to also complete before returning to that numbered stage to continue.
- Finally, understand that some checklists are longer or shorter than others.
- Ultimately, when all stages’ checklists are completed, the server will be operationally ready for creating websites.
Setup Guide: Stages of Sequenced Checklists
- Before you begin, read this important notice: ALWAYS ensure you have a recovery point from backups or snapshots. Or, in extreme cases, prepare to setup the VPS again from the beginning. So, if starting with a new, empty VPS, START by testing out your own VPS recovery or restore methods. Every combination of host provider services, Operating Systems, and Stacks are different. You are following this site’s guides and checklists at your own risk.
- Review & get a VPS Host Plan. Follow the below steps, in order.
- Review factors and compare: Read Managed vs Unmanaged VPS.
- Review tech specs for selecting a VPS Provider. Here’s a quick checklist.
- Get a VPS hosting plan for your account domain (1st domain on the VPS).
- Important considerations for account domain naming: This 1st domain should not be used for a dominant website, not for eCommerce, and not on an external CDN. This account domain will also be used for naming nameservers, used by all domains on this VPS. It will be the primary focus for DNS management of all domains on this server. It should never be moved while there are other active domains on this VPS. Some will never use it for any website creation, which is the most optimal but, not a requirement. Think of this account domain as a domain representing the server and the manager of all domains that are added after it.
- Install an operating system onto unmanaged VPS host account, for your Account Domain.
- Follow this checklist to install Linux & Setup the initial VPS.
- Create Terminal Connection to Access your VPS.
- Install & Setup PuTTY App. Or, alternately, use your own method to connect to this VPS via a terminal session using SSH. This checklist’s roadmap status (for PuTTY) is: Planned.
- Install DirectAdmin on the server.
- Follow this complete checklist for the DirectAdmin Installation: Step‑by‑Step Guide.
- Secure administrative access and core credentials.
- Change the DirectAdmin Password from the default & apply steps to protect site directories. See instructions here: DirectAdmin Passwords: Change & reset passwords & protect directories
- Create an DirectAdmin Admin backup. (aka “DA Admin Backup”)
- Run this Checklist to Create a DirectAdmin Admin Backup and assign an automatic backup schedule.
- Install the OpenLiteSpeed web server.
- Run this checklist to Install OpenLiteSpeed on a DirectAdmin VPS
- Perform steps after OpenLiteSpeed is installed.
- First, run this checklist to set CustomBuild Options for OpenLiteSpeed.
- Then, perform this checklist to Apply CustomBuild Updates, selecting to update ALL items.
- Add a Domain to the VPS.
- Option 1 – Add the 1st Domain ONLY (aka Account Domain): Follow this checklist to Add the Account Domain (1st Domain) using DirectAdmin onto this VPS.
- Important for finalizing 1st domain: After Account Domain is added, you MUST complete ALL remaining checklists for adding this domain and finish all remaining stages of checklists for completing the configuration of this DirectAdmin VPS (server).
- Option 2 – Add an Additional Domain (ONLY after 1st Domain was added & VPS were fully configured): Follow this checklist to Add an Additional Domain in DirectAdmin onto this VPS.
- Important before adding additional domains: Do NOT add any additional domains until all DirectAdmin VPS stages of checklists have been completed.
- Option 1 – Add the 1st Domain ONLY (aka Account Domain): Follow this checklist to Add the Account Domain (1st Domain) using DirectAdmin onto this VPS.
- Perform PHP checklist after ANY Domain was added to DirectAdmin.
- Follow this PHP checklist to Apply PHP Settings for All New Domains in DirectAdmin.
- Operation note: Because of installing OpenLiteSpeed, these PHP settings are technically considered LSPHP settings (LiteSpeed PHP settings); however, they’re still referred as PHP.
- Follow this PHP checklist to Apply PHP Settings for All New Domains in DirectAdmin.
- Add DNS records.
- Follow this DNS checklist to Add the “wildcard A record”.
- Follow this DNS checklist to Add the “apex A record”.
- Then, ONLY for the account domain (1st domain), follow this DNS checklist to Add the “server hostname A record”.
- Execute QUIC.cloud delete/disable changes in order (if using QUIC.cloud)
- Important Operational Note: These steps will cause temporary loss of public access to a domain’s website, if one exists. But, they return after the Assign/Reassign NameServers checklists are completed and propagated.
- Delete DNS Zone from QUIC.cloud.
- Disable CDN from QUIC.cloud.
- Register NameServers (only if not yet done; applies to Account Domain ONLY).
- Account Domain: Register Nameservers at Domain’s Registrar
- Additional Domains: n/a; assign nameservers only (next bulleted checklist).
- Assign/Reassign NameServers at the domain’s registrar. This applies to any domain.
- Operational Note for Account Domain only: The Account Domain often becomes automatically assigned when registering it to have new nameservers of this VPS. But, check it to ensure they’re assigned.
- Assign/Reassign Nameservers at Domain’s Registrar, using this VPS registered nameserver names.
- Optionally, review this list of Actions After Changing Nameservers and then return here. You’ll notice you’ve performed some of those referenced tasks already. Also, some of the next steps of checklists guides you to achieve the rest of those reviewed actions after changing Nameservers.
- Issue SSL certificates using DirectAdmin and Let’s Encrypt. Sequenced steps have required wait periods to ensure reliable activation.
- Confirm these actions, as shown in “SSL: Remove SSL Certificate or Domain from SSL” from old sources before configuring any new SSL certs.
- Then, run the checklist from DirectAdmin USER SSL Configuration.
- Finally, perform the checklist from DirectAdmin ADMIN SSL Configuration.
- Important: Do NOT continue with any checklists until you complete both the USER & ADMIN SSL Configuration checklists successfully.
- Account Domain only: Run SSL Validation Checks.
- Follow checklist to run DirectAdmin SSL Validation Checks for the Account Domain.
- Account Domain only: Ensure redis and DirectAdmin Extra Features are available.
- Run this checklist to confirm redis is running and will auto-start.
- Then, follow this easy checklist to confirm these specific DirectAdmin Extra Features will open.
- Configure Admin Mail for any Domain. by running all the following checklists.
- DirectAdmin Roundcube Webmail: Run the checklist to Create Admin mailbox identity for admin of a domain.
- DirectAdmin E-mail Manager: Enable DKIM for a domain by running this checklist.
- rDNS added to VPS (one time only): Run the checklist to add rDNS for the VPS once.
- Run Live Email Test checklist.
- Submit Support Request to Open Ports for Mail added to VPS (one time only) and ONLY if needed, usually if email test failed.
- DirectAdmin DNS: Run the checklist to Authenticate Domain Mail with DMARC for a domain.
- Enable Security.txt (RFC 9116) on the DirectAdmin VPS.
- Run this checklist to Enable Security.txt (RFC 9116) on the DirectAdmin VPS.
- Create a System Backup of the VPS.
- Use DirectAdmin to Create a VPS system backup before proceeding to application‑level work.
- Add and fully configure additional domains.
- Now, if you want to add additional domains. use this this guide again but start at the section “Add a Domain”, using Option 2 to add an additional domain. Continue down each section and steps again but skipping the ones marked for “account domain” only.
- This server is now ready for application‑level workloads. This site stops at infrastructure readiness, just before installing Softaculous or WordPress or other CMS. To continue developing this end-to-end full system, proceed to the next site in this suite: WordPress Softaculous (currently pending development). My suite of sites continues with checklists for using Softaculous, WordPress Manager, WordPress Sets of Plugins & Themes, and WordPress Install, Setup, & Configure, using Bricks or Etch theme builders.